
M.V. Soft Rocker
 M.V. Soft Rocker |
Head and Shower |
| | Back to Search Page | |
| The head and shower enclosure had to be installed before the deck was added to the hull. What follows is an explanation of how this part of the boat was built. |
|
|
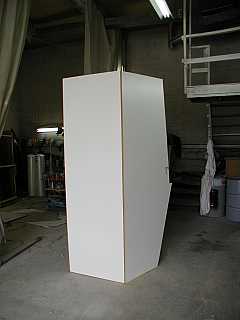
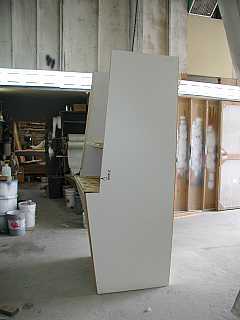
| First a cardboard version of the head shower enclosure was made to use as a pattern for a two part mold. |
 |  |
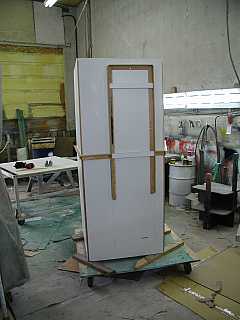 |
| A melamine internal mold was made with a flange to separate the top and bottom parts of the head/shower |
|
| Applying gelcoat to top half of mold |
|
|
| Mold (inverted). Fiberglass lay up of top of head/shower complete. Bottom about to be made, |
|
|
Removing internal mold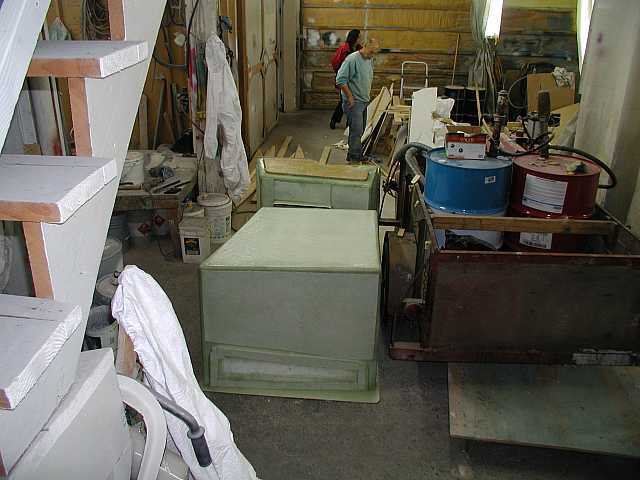 |
|
|
| Two parts of head/shower completed. |
|
|
| Head and shower enclosure complete and temporarily assembled. (Assembly is inverted) |
 |
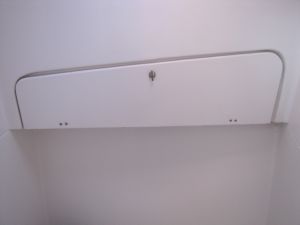 |
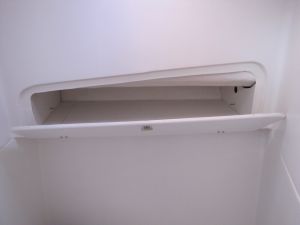
| Opening at the joint provided access to the hull/deck joint and then became a dry locker |
|
|
| LED light fixture |
 |  |
| Waterproof toilet paper dispenser |
Dispenser Instalation Informtion |
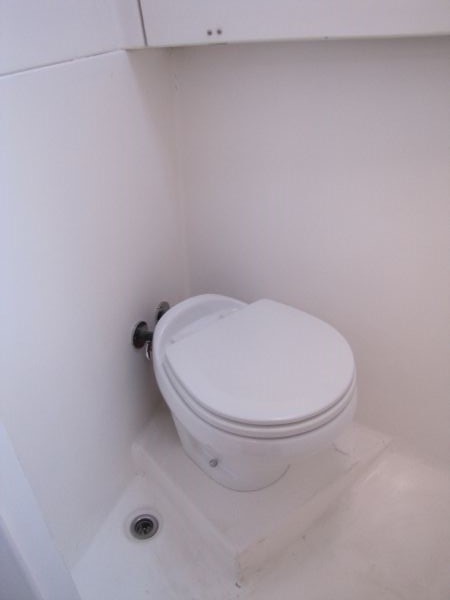 |
| Toilet installed Instalation and Operation Manual Wiring Diagram Grey Water Toilet Supply Pump |
| After the boat was launched, it was found that the shower drain should have been at the forward end of the shower enclosure. Moving the drain was not feasible so the folllowing alteration was made. |
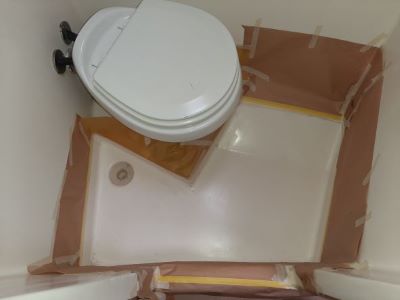 | 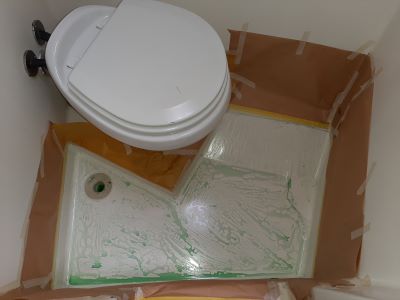 |
| 1. The floor was waxed and masked | 2. Mold release was applied |
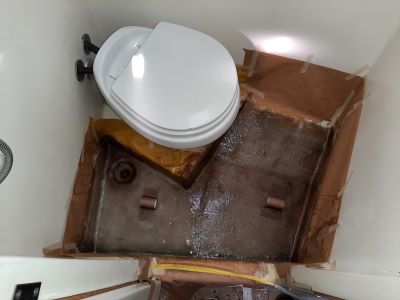 | April 22, 2022 this work is currently in progress More informtion to follow |
| 3. A fibergalass mold was layed up | 4. The resulting part was taken to the shop and trimmed. |
| 5. A sloped piece was made from airex to raise the floor level on the forward end of the shower so that the water would flow to to the aft drain. | 6. The airex was vacuum bagged into place with core bond |
| 7. The airex was then glassed and faired | 8. Followed by gel coating |
4/9/2022 12:40 PM 04headshower.htm