
 | Forward Cabin |
Forward Cabin "Rough In" |
| Back to Search |
|
|
| Templates and "mock ups"
for berths (The deck is not on during this process) |
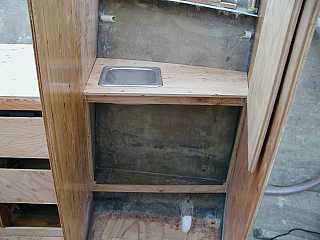 |
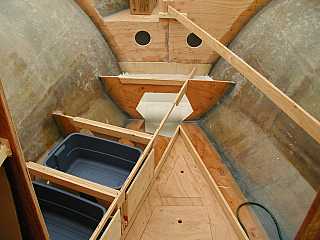 |
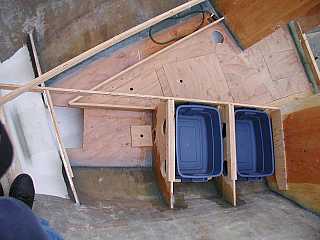 |
| Galley | Port side storage | below lower berth |
All drawers use standard sized Rubber made bins so they can be used to transport supplies and clothing to and from the boat. |
|
|
| Starboard storage below berth - hanging locker and drawers. White area is bow thruster tube. Port side area aft of bow thruster is for a dirty clothes laundry bag. |
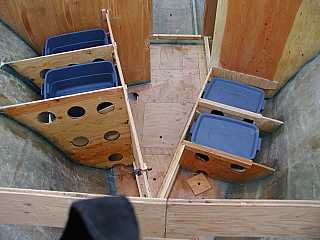 |
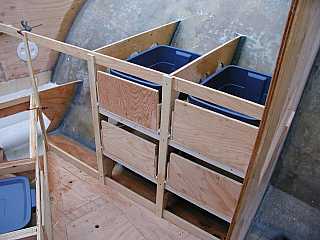 |
| Completed storage below berths |
|
|
| Drawer slides have been modified to lock when closed (lift to open) |
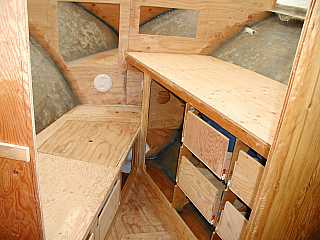 |
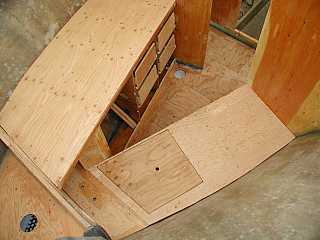 |
| Berths completed |
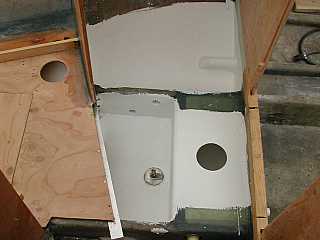 |
 |
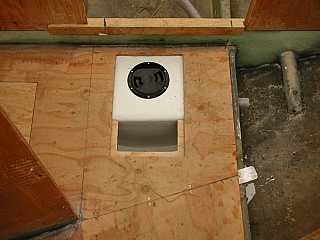 |
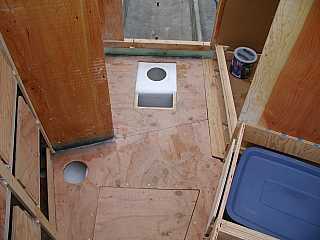
| Grey water sump tank for shower and dressing area sink |
|
|
Completed forward cabin
"rough in" ready for shower/head |
|
|
| | Back to Top | |
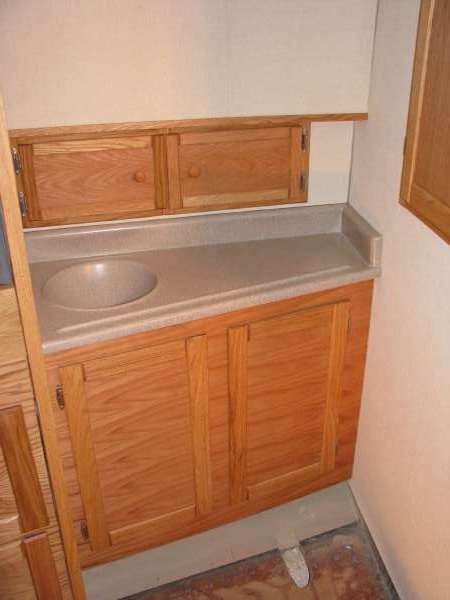
Sink and Counter |
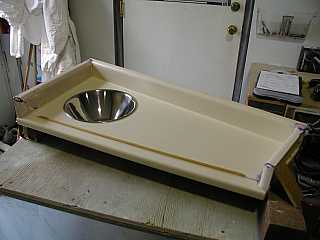 | 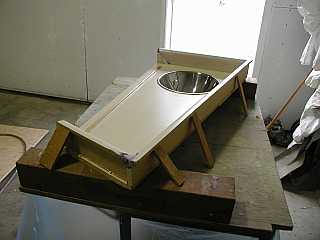 | 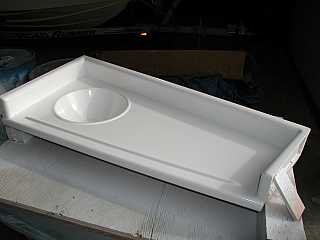 |
| Plug made form recycled | counter top and stainless bowl | Plug sprayed with gel |
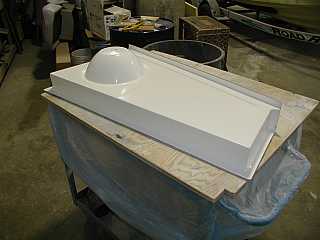 | Finished part below...... | |
| Completed mold taken from plug |
|
|
| The special resin used to make this part provides a durable surface with a smooth but "sand like" surface. |
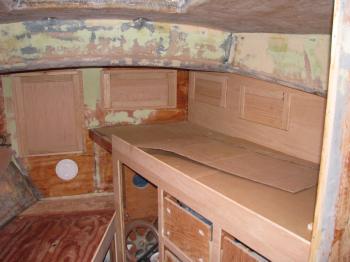
Head Liner |
 |
 |
| Filled and ready for installation |
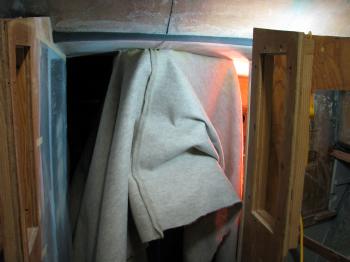
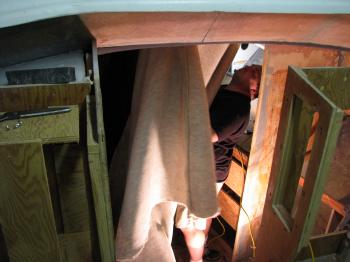
Two six foot wide pieces are neatly sewn to together which leaves a seem down the centerline of the forward cabin roof |
 |
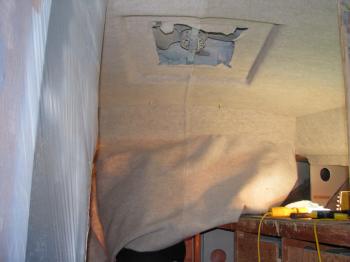 |
| The underside of the fabric and the cabin roof are sprayed with adhesive along the centerline |
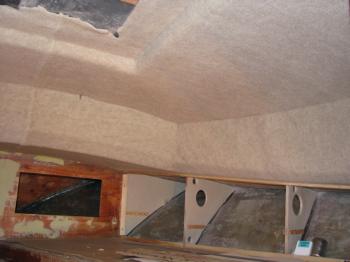
The fabric is then worked to the sides of the cabin and glued in place |
 |
|
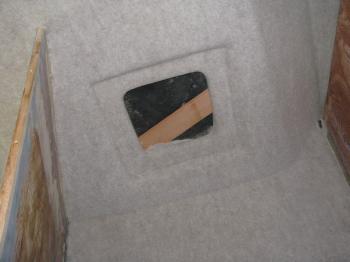
| Once complete | it looks like this |
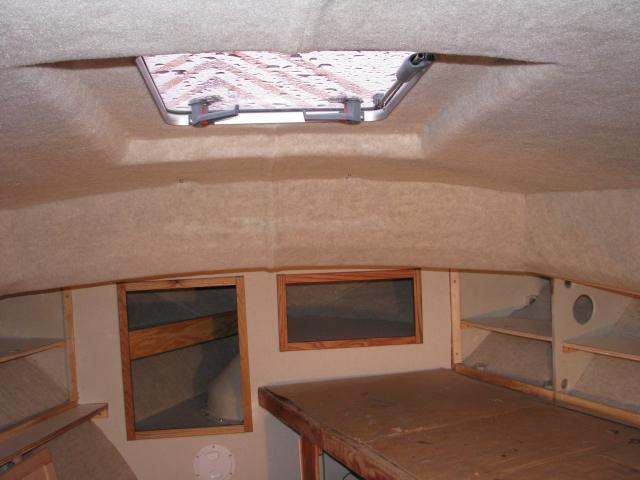 |
| Completed head liner. (This requires the skills of a great upholster) |
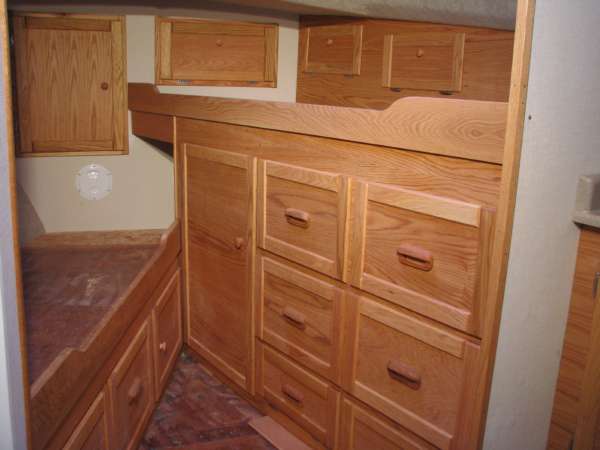
Final assembly & finishing of cabinet work |
 |
 |
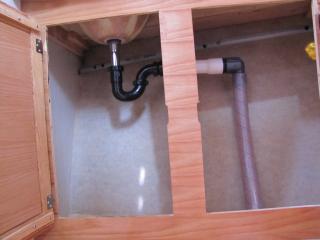 Plumbing Below Vanity Sink |
Fir flooring (Forward Cabin Sole) |
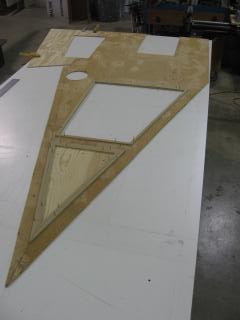 | 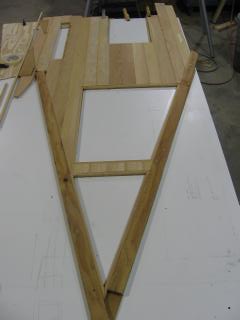 |
| This is the start of laying a tongue and grove fir floor in the forward cabin. Because the space is confined and the floor intricate, the floor was made in the shop on a quarter inch piece of plywood which has been cut to fit the cabin sole. | 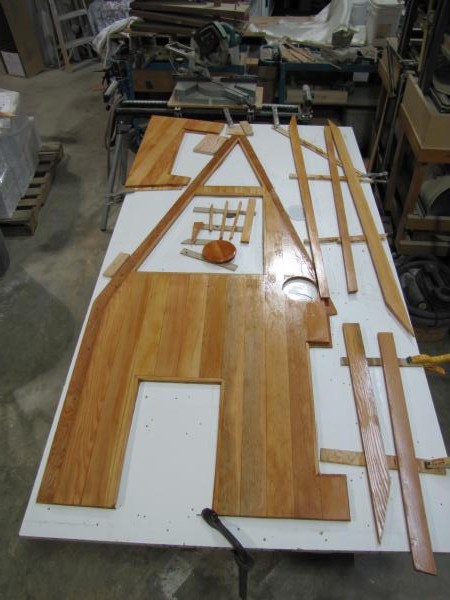 |
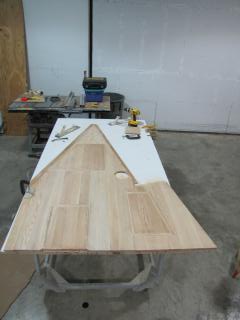 | 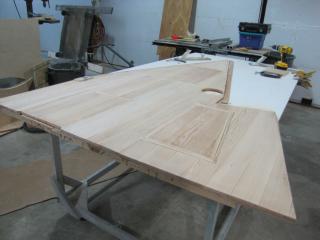 Tongue and grove flooring epoxied in place |
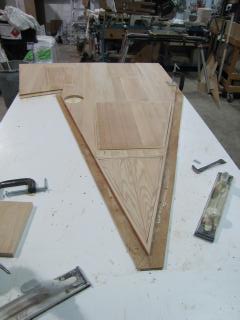 First stage completed ready for "test fit" |
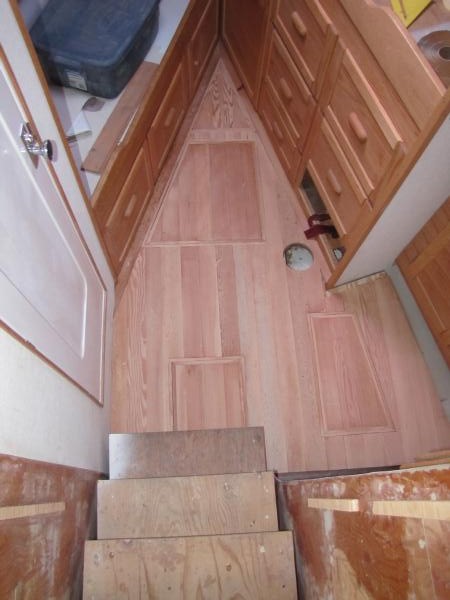 Test fit |
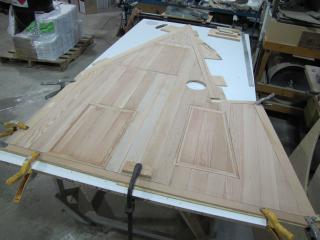 With perimeter covering boards cut and fitted (they will be installed after the main floor has been glued in place | 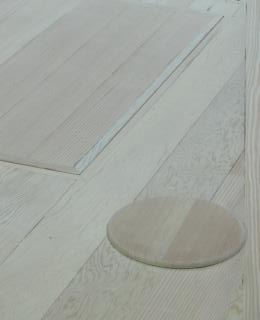 Round Fir Inspection Hatch |
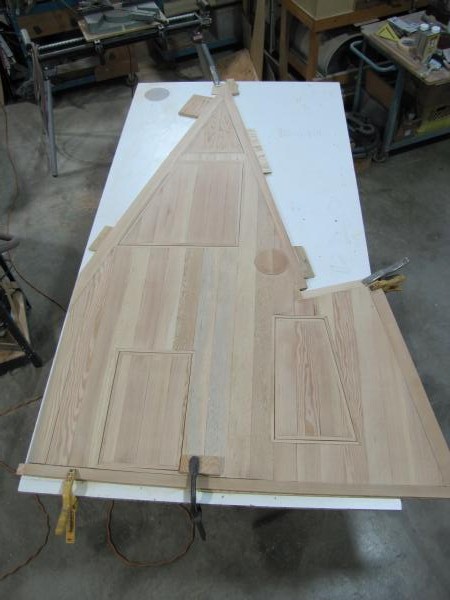 Sanding Completed Ready For S1 Epoxy |
 Disassembled and First Coat of S1 Epoxy Applied |
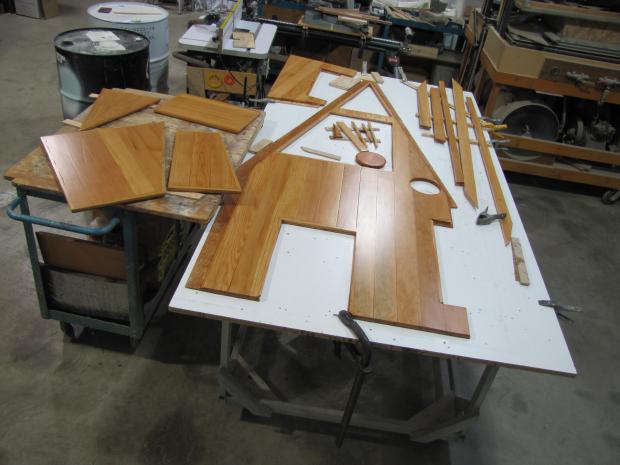 Puzzle with two coats urethane |
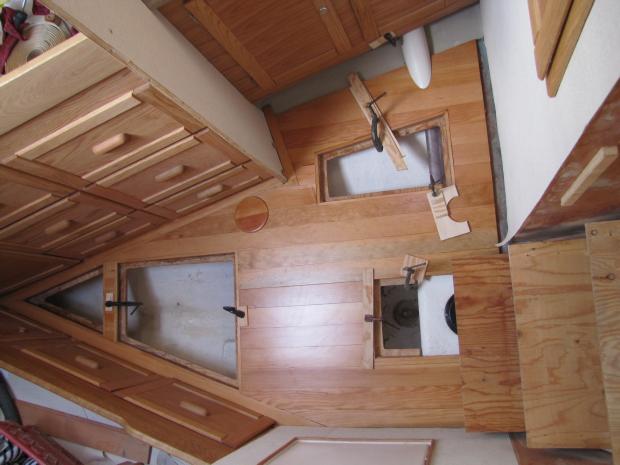 In place and bedded down with epoxy paste |
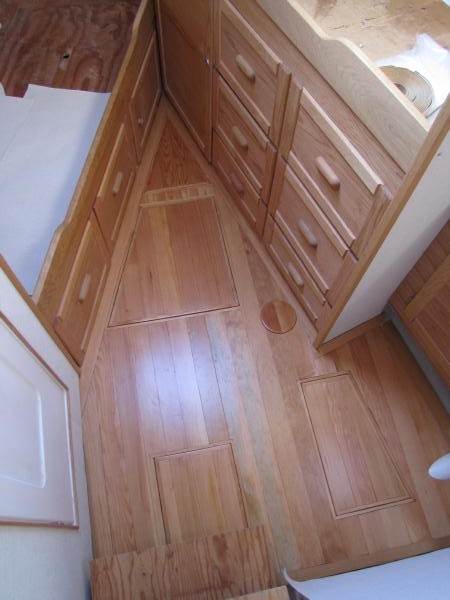 Completed Floor |
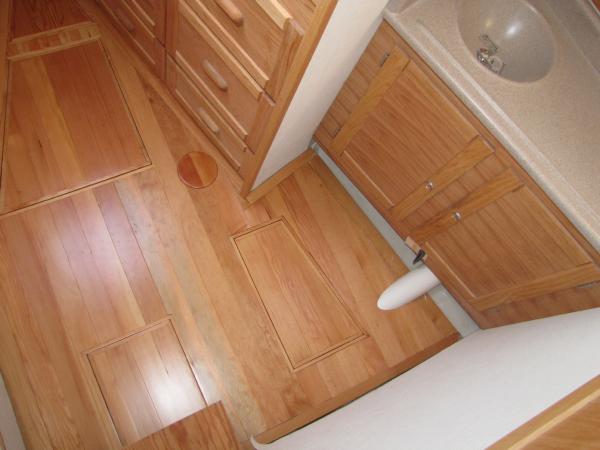 White Sink Drain Pipe Cover |
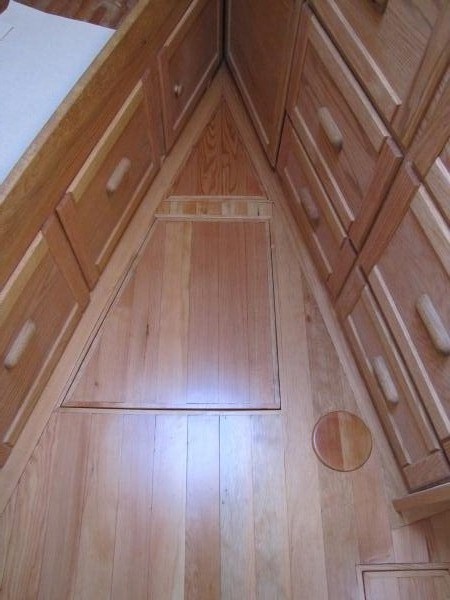 |
| Lifting Rings to be added |
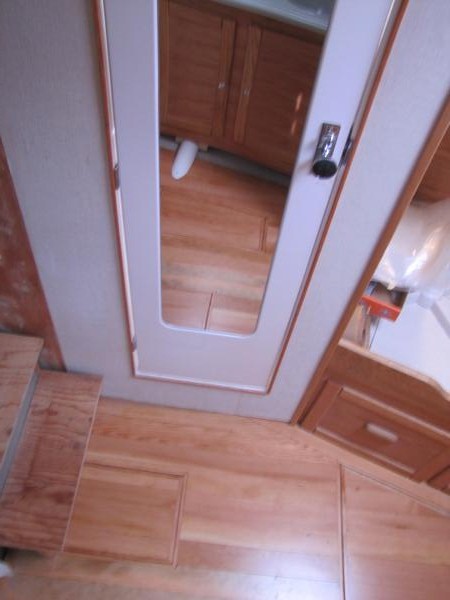
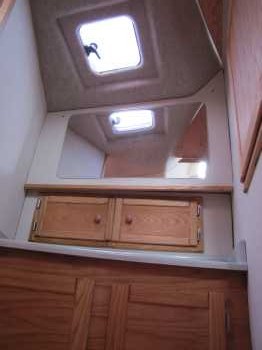
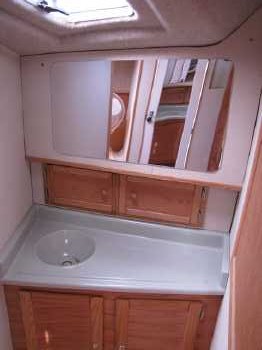
| Mirrors (Shower/Head Door and Vanity) |
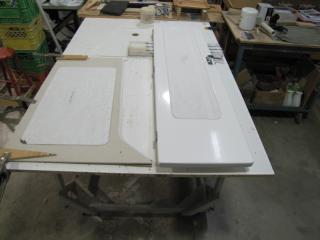 Mirrors being glued to bulkhead panel and door |
 |
 |
 |
| | Back to Top | |